
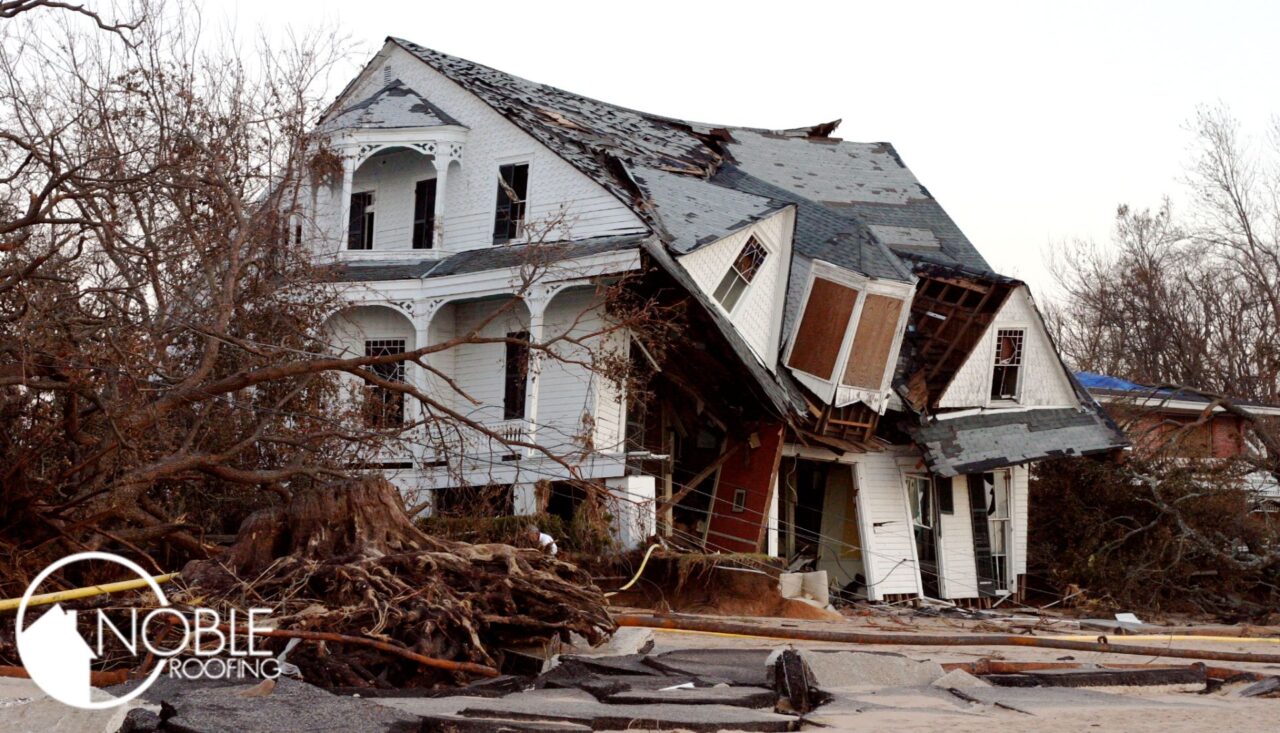
How to Make an Insurance Claim After a Hurricane Hits
When a hurricane tears through your area, it can leave behind roof damage, broken windows, flooding, and a lot of stress. Knowing how to file a homeowners insurance claim quickly and correctly can help you get repairs started sooner and reduce the risk of disputes later.
Here is a step-by-step guide to making an insurance claim after a hurricane, with a special focus on roof and exterior damage.
Step 1: Put Safety First and Prevent Further Damage
Before anything else, make sure it is safe to re-enter your property. Avoid downed power lines, unstable structures, and deep floodwater. Once you can safely inspect your home, take reasonable steps to prevent further damage, such as:
- Cover broken windows and holes in the roof with tarps or boards
- Remove standing water if possible
- Secure loose debris and exposed areas where rain could enter
Insurance guidance emphasizes that these temporary repairs help reduce additional loss and are generally reimbursable, as long as you keep receipts and don’t proceed with extensive permanent work before the adjuster has seen the damage.
Step 2: Document All Damage Thoroughly
Strong documentation is one of the most important parts of a successful hurricane claim. Experts recommend taking photos and videos from multiple angles, inside and out. Capture wide shots and close-ups of:
- Roof damage (missing shingles, lifted edges, torn flashing, obvious holes)
- Ceiling stains, leaks, and damage in the attic
- Broken windows, siding damage, fallen trees, and debris impacts
- Damaged personal property (furniture, electronics, contents)
Make a detailed inventory of damaged items, including approximate value, purchase dates, and any receipts or warranties you have. If you have pre-storm photos or prior documentation, keep those with your claim file as well.
Step 3: Review Your Policy and Contact Your Insurer Promptly
Most disaster-claims guides recommend contacting your insurer as soon as you can safely do so—often within just a few days after the event. Delays can complicate the claims process and may bump up against deadlines set by your policy or state law.
Before or as you call, review your policy to understand:
- Your coverage limits and deductibles (including any hurricane or windstorm deductible)
- What types of damage are covered and what exclusions apply
- Any timelines for filing claims and submitting documentation
When you contact your insurer (by phone, app, or online portal), have your policy number ready and give a clear description of the damage and the date of loss. Ask about coverage for additional living expenses if the home is uninhabitable, and request information on the next steps in the claim process.
Step 4: Keep Receipts and Track All Expenses
If you need temporary housing, extra meals, emergency repairs, or storage after the hurricane, keep every receipt. Many policies reimburse reasonable additional living expenses when covered damage forces you out of your home.
Likewise, save receipts for any temporary repair work you pay for, such as tarp installation or emergency roof patches. These costs typically count toward your total settlement, so tracking them is important for both reimbursement and final claim negotiations.
Step 5: Prepare for the Adjuster’s Visit
Your insurance company will usually send a claims adjuster to inspect the damage. Being prepared and present when they arrive can help ensure they see everything that needs attention.
Before the visit:
- Make sure your address is visible from the street, and you can be reached at a current phone number
- Have your documentation organized: photos, videos, inventories, receipts, and any initial repair estimates
- Plan to walk the adjuster through all damaged areas, including the roof, attic, ceilings, and exterior
During the inspection, point out all visible roof damage—missing shingles, lifted edges, damaged flashing, and any interior signs of leaks. Ask questions if anything in the adjuster’s assessment is unclear.
Step 6: Get Roofing Estimates and Compare Them
Storm-damage claim guides recommend getting written repair or replacement estimates from licensed roofing contractors—ideally more than one. These estimates help you understand the scope of work needed and provide benchmarks if you disagree with the insurer’s initial offer.
Compare contractor bids with the adjuster’s report before settling the claim. This can help you identify gaps, make sure roof damage is fully accounted for, and negotiate a fair settlement.
Step 7: Watch Out for Scams and Too-Good-to-Be-True Offers
Unfortunately, post-hurricane recovery can attract unscrupulous contractors. Insurance and consumer protection resources warn homeowners to be cautious of anyone who:
- Demands large upfront payments
- Offers bids far below others with vague details
- Promises to “waive” or “rebate” your deductible (often illegal in many states)
Work with established, licensed roofing companies and always get written contracts and receipts for money paid.
Step 8: Stay Organized and Follow Up as Needed
Keep a claim file with copies of your policy, all correspondence with your insurer, adjuster reports, photos, receipts, and contractor estimates. Document dates and details of every phone call or meeting related to your claim.
If you receive a settlement offer, review it carefully. Know your deadlines for accepting, contesting, or appealing an offer if you feel the payment doesn’t fully cover your covered hurricane damage.
How Noble Roofing Can Help With Your Hurricane Claim
Roof damage is one of the most common issues after a hurricane, and it often plays a central role in your insurance claim. Noble Roofing can inspect your roof for storm damage, document what we find, and provide detailed repair or replacement estimates you can share with your insurer.
We’re familiar with the storm-damage claims process and can help you understand what needs to be addressed to protect your home. If you’ve been hit by a hurricane and aren’t sure where to start with roof repairs or your insurance claim, reach out for an inspection and guidance.