How to Winterize Your Attic for Extremely Cold Weather: Tips from Noble Roofing
Winter is here, and it sure did make its arrival known. Feeling recovered from that New Year’s snowstorm? As always, with this season comes the freezing temperatures and heavy snowfall that can take a toll on your home.
One area that often gets overlooked in winter preparations is the attic. Properly winterizing your attic can save you from costly repairs and increase your home’s energy efficiency during the colder months. At Noble Roofing, we know the importance of a well-prepared attic, so we’ve put together these essential tips for winterizing your attic before the extreme cold sets in.
Why Winterizing Your Attic Matters
Your attic plays a key role in your home’s overall energy efficiency. During winter, heat from your living space rises and escapes through your attic. If your attic is not properly insulated or ventilated, you’ll lose valuable heat, driving up your heating bills. Worse, the warmth can cause snow on your roof to melt, creating ice dams that can lead to leaks and damage. Winterizing your attic helps to prevent these issues and ensures that your home stays warm and dry. If you don’t need a new roof, winterizing your attic is a great way to optimize excess energy loss through your roof.
1. Check and Improve Insulation
Proper attic insulation is one of the most effective ways to keep your attic—and the rest of your home—warm during the winter. If your attic has insufficient insulation, heat will escape through the ceiling, making your furnace work harder to keep your home warm. This not only wastes energy but also causes your heating costs to rise.
How to Winterize:
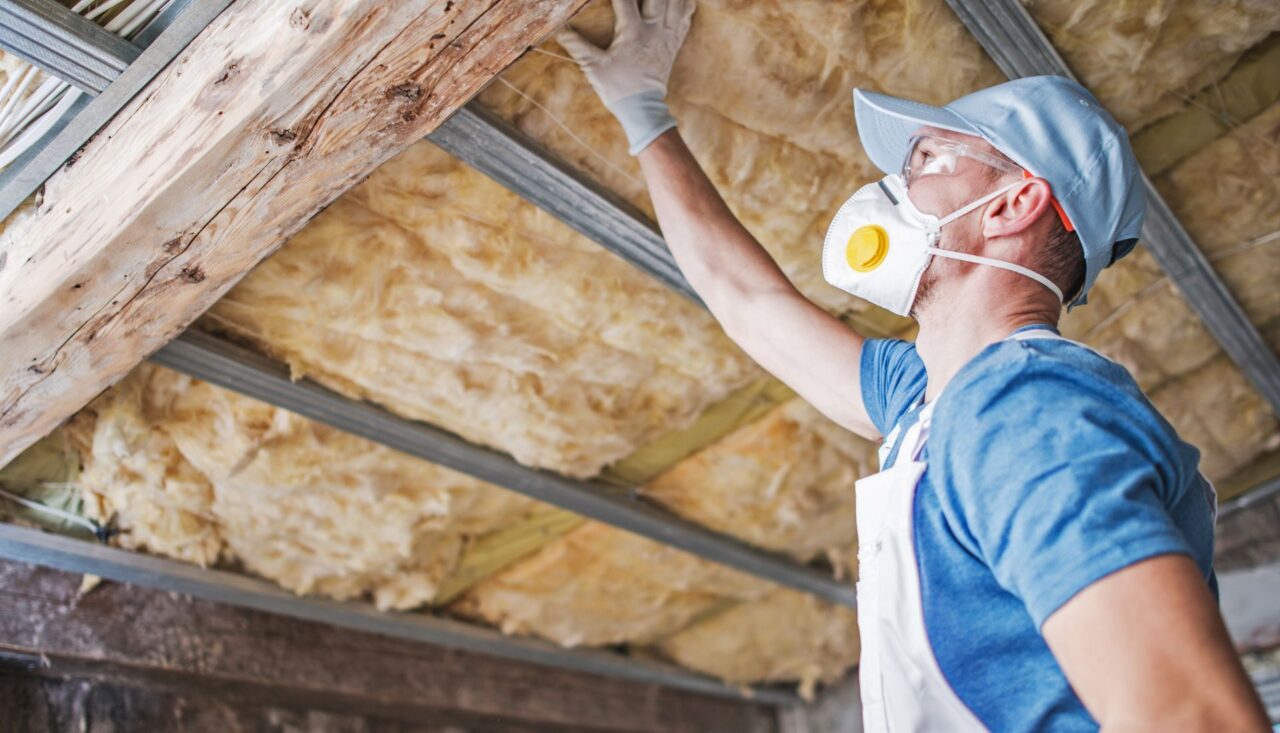
- Inspect Existing Insulation: Start by checking your current insulation. If it’s old, compressed, or missing in some areas, it’s time to upgrade.
- Add More Insulation: Use batt or spray foam insulation to fill gaps, cracks, and corners. A good rule of thumb is to have 10–14 inches of insulation in your attic to maintain maximum energy efficiency.
- Consider Blown-In Insulation: Blown-in insulation is especially useful for attics with hard-to-reach areas. It provides a thick, even layer of insulation without gaps.
Tip: Always wear a mask and proper safety equipment when doing any DIY task!
2. Seal Air Leaks
Even with adequate insulation, if warm air is leaking from your living space into the attic, it can create problems such as higher heating costs and condensation. Cold air entering the attic through gaps and cracks can lead to ice dams and poor indoor air quality.
How to Winterize:
- Inspect for Gaps and Cracks: Look for any gaps around pipes, ducts, vents, and electrical wiring that might allow air to leak into the attic.
- Seal Gaps with Caulk or Foam: Use caulk or spray foam to seal any small cracks. For larger gaps, use weatherstripping or foam gaskets.
- Check the Attic Hatch: Make sure the attic access door or hatch is tightly sealed. You can install weatherstripping or even add a cover to prevent drafts. Even small leaks can make your HVAC work harder over time.
3. Improve Ventilation
Proper attic ventilation is crucial to winterizing your home. Without proper ventilation, moisture can accumulate in the attic, leading to condensation and potential mold growth. Moisture can also contribute to the formation of ice dams, which can damage your roof and cause leaks. Thankfully, with proper precautions, they are completely preventable.
How to Winterize:
- Ensure Proper Ventilation: Make sure your attic has both intake and exhaust vents. Intake vents should be located near the soffits (the underside of the eaves) to allow fresh air to flow into the attic, while exhaust vents should be placed at the roof ridge or near the top of the gable to let hot, moist air escape.
- Install Baffles: If your attic has insulation blocking your vents, install baffles, which are plastic, foam, or cardboard channels between the insulation and the roof deck to allow air to flow freely.
- Check and Clear Vents: Clear out any debris from your vents (like leaves or nests) to ensure they’re functioning properly.
4. Install or Inspect a Vapor Barrier
Excess moisture in the attic can lead to problems such as black mold, rot, and ice dams. A vapor barrier helps keep moisture from moving from the living areas into the attic. This is especially important if you have a bathroom, kitchen, or laundry room under your attic.
How to Winterize:
- Check for Existing Vapor Barriers: Make sure any existing vapor barrier is intact and properly installed. If it’s damaged or missing, it’s a good idea to add one. If you don’t have one, follow the step below.
- Install a New Vapor Barrier: Lay down a plastic sheet or reflective foil material along the attic floor to create a vapor barrier. This will help prevent moisture from getting into the attic space, especially when the air inside your home is warmer than the air outside.
5. Inspect and Repair the Roof
Your roof is the first line of defense against winter weather. A poorly maintained roof can result in ice dams, leaks, and significant damage during extremely cold weather. Need to find out if your roof is failing? Here are some asphalt roof red flags.
How to Winterize:
- Inspect Your Roof: Before winter sets in, inspect your roof for missing or damaged shingles, cracks, or other vulnerabilities. Look for any signs of water damage or leaks inside the attic too.
- Repair Damaged Shingles: Replace missing or damaged shingles to prevent leaks. If your roof has seen better days, consider scheduling a roof replacement to avoid winter issues.
- Install Ice and Water Shield: If your roof is prone to ice dams, installing an ice and water shield along the eaves can help prevent water from backing up under your shingles and causing leaks.
6. Clean Gutters and Downspouts
Clogged gutters can lead to ice dams forming on your roof, which can cause significant damage to your attic, walls, and foundation. Keeping gutters clean and clear will help water flow properly and reduce the risk of ice dams.
How to Winterize Your Gutters and Downspouts:
- Clean Gutters: Remove any debris such as leaves and twigs that could clog your gutters. Ensure water can flow freely through the downspouts.
- Inspect Downspouts: Make sure downspouts are directed away from your foundation to prevent water from pooling around your home.
- Consider Gutter Guards: Gutter guards can help keep debris out, reducing the need for frequent cleaning and preventing blockages during the winter.
7. Install a Roof Rake (For Snow Removal)
Heavy snow accumulation on your roof can lead to ice dams and even structural damage. If you live in an area with significant snowfall, installing a roof rake can help you remove snow safely and prevent ice dams from forming.
How to Winterize:
- Use a Roof Rake: Gently remove excess snow from the roof, starting at the edges and working your way toward the peak. Be sure to use a rake with a telescoping handle to avoid getting on the roof.
Be Prepared for Winter!
Winterizing your attic is a proactive step that can save you time, money, and headaches during the colder months. By ensuring your attic is properly insulated, sealed, ventilated, and maintained, you’ll reduce energy costs, prevent water damage, and keep your home safe and comfortable.
If you need help preparing your attic or roof for extreme cold, don’t hesitate to reach out to the team at Noble Roofing. We’re here to provide professional inspections, maintenance, and repairs to ensure your home is ready for winter.
Contact us today to schedule an attic inspection or roof evaluation and stay ahead of the winter weather!
